Things that you will require:
- Gloves made of clean rubber
- Towels made of paper or clean, dry towels.
- A brush made of plastic for cleaning. A longer handle will make it much simpler to clean. On your reservoir, you should never use soap, detergent, or any other product that could scratch the surface.
- A measuring spoon – one teaspoon volume.
- Container that has been calibrated, such as a two-gallon bucket.
- Bleach for the home that is unscented in liquid form.
- a clean container of one gallon capacity that is brimming with bottled water
The following are the steps to clean your water cooler:
Step 1: First, make sure the power cord is unplugged.
Step 2: The second step is to get rid of the bottle.
Step 3: Pour all of the water from the cold faucet into a bucket, and then pour the bucket’s contents down the drain.
Step 4: Take off the top of the cooler.
Step 5: Is to empty the cooler of any remaining water.
Step 6: To make a cleaning solution, add one teaspoon of unscented household liquid bleach to one gallon of water in the container that has been calibrated.
Step 7: While protecting your hands with clean rubber gloves, submerge the lint-free towel or scrub brush that you will be using in the cleaning solution. Squeeze out any remaining cleaning solution that may be on the towel, and then clean all of the interior surfaces of the reservoir. DO NOT add the cleaning solution to the reservoir when you first start the machine.
Step 8: Rinse the Reservoir Carefully fill the reservoir with bottled water from the one gallon container until there is a half an inch of space left between the top of the reservoir and the water level in the bottle. Through the use of the cold tap, completely empty the reservoir of the water that was used for rinsing.
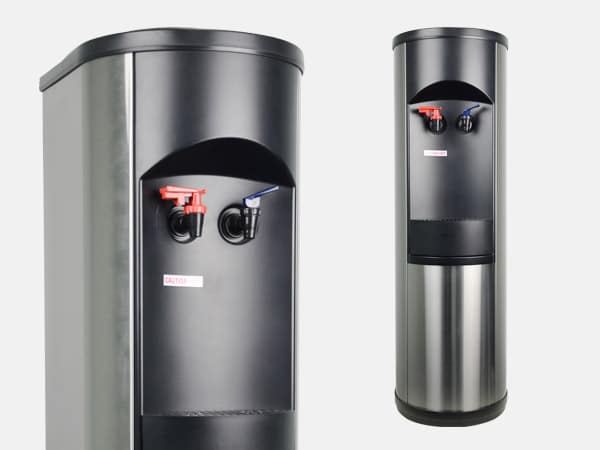
Step 9: Clean the baffle, the top of the cooler, the drip receptor, and the taps with the same cleaning solution, using the same brush and/or cloth. If your cooler has a device that prevents spills, you should use the same cleaning solution to clean both the device and the cooler. It is important to avoid getting the air filter wet at any cost. To thoroughly rinse these components, use the clean container that holds one gallon and fill it with bottled water.
Step 10: Is to put all of the components back together while wearing rubber gloves.
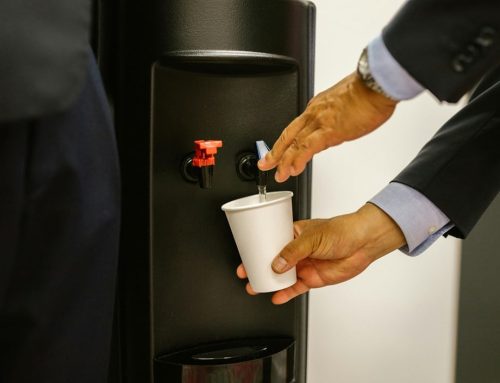
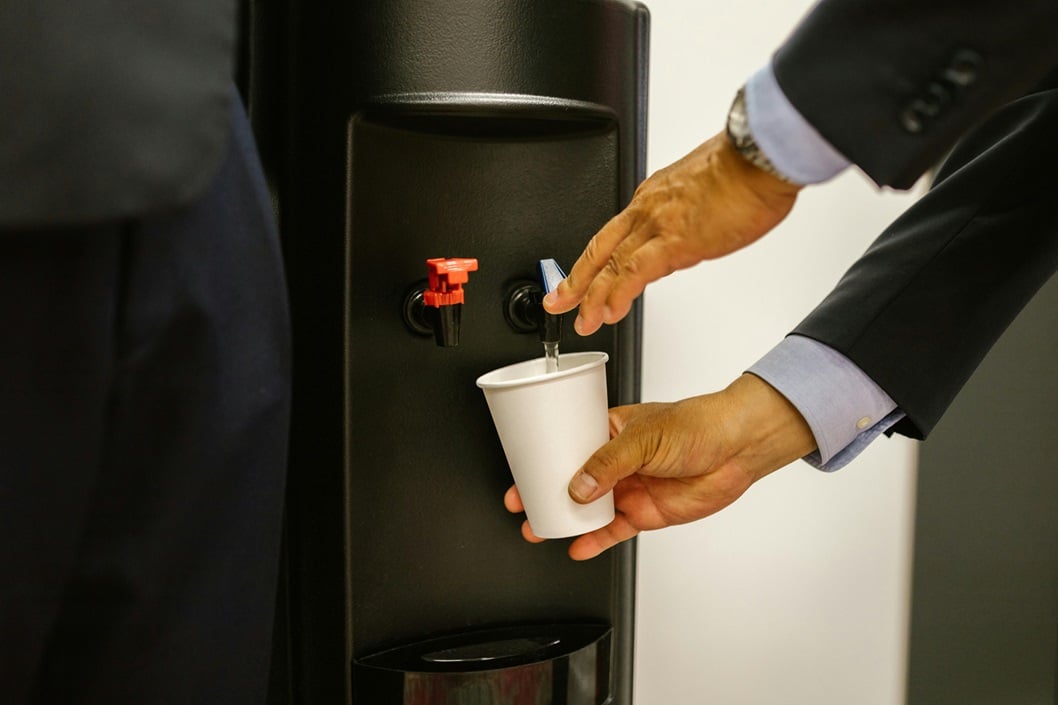
Step 11: Return a bottle to its original location on the cooler and pour two cups of water from each tap into a separate container until the taste and odour of chlorine are no longer detectable.
Step 12: Reconnect the power cord to the ice chest. Allow the water to reach the desired temperature after approximately forty-five minutes have passed.
Living-Water is the place to go to rent water coolers or buy water coolers online.

